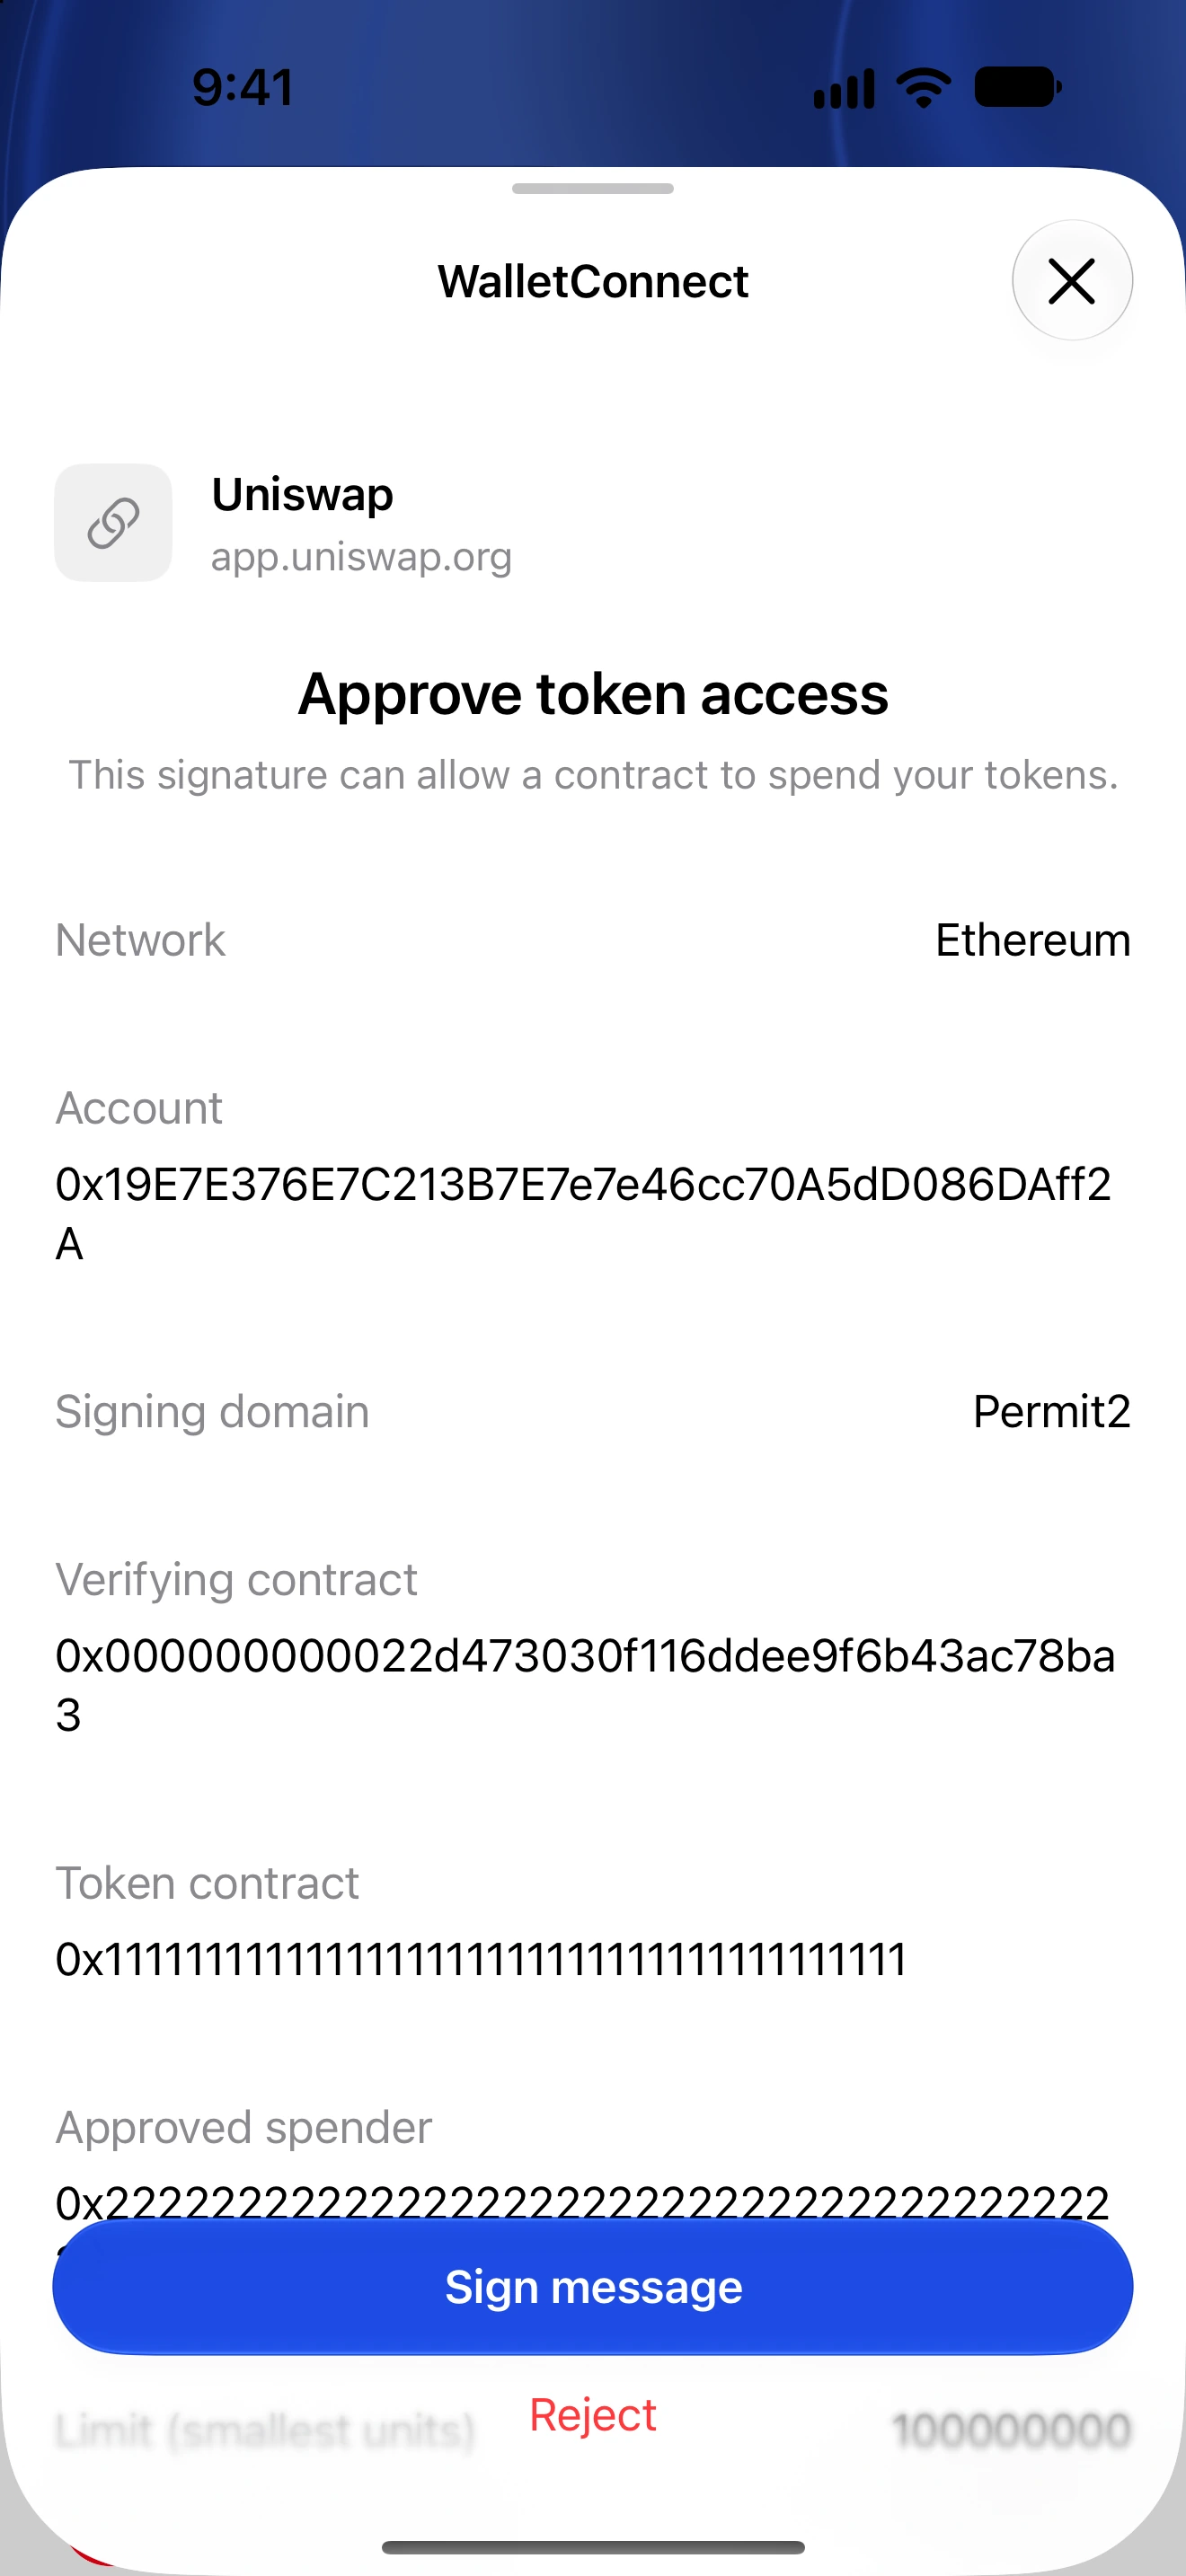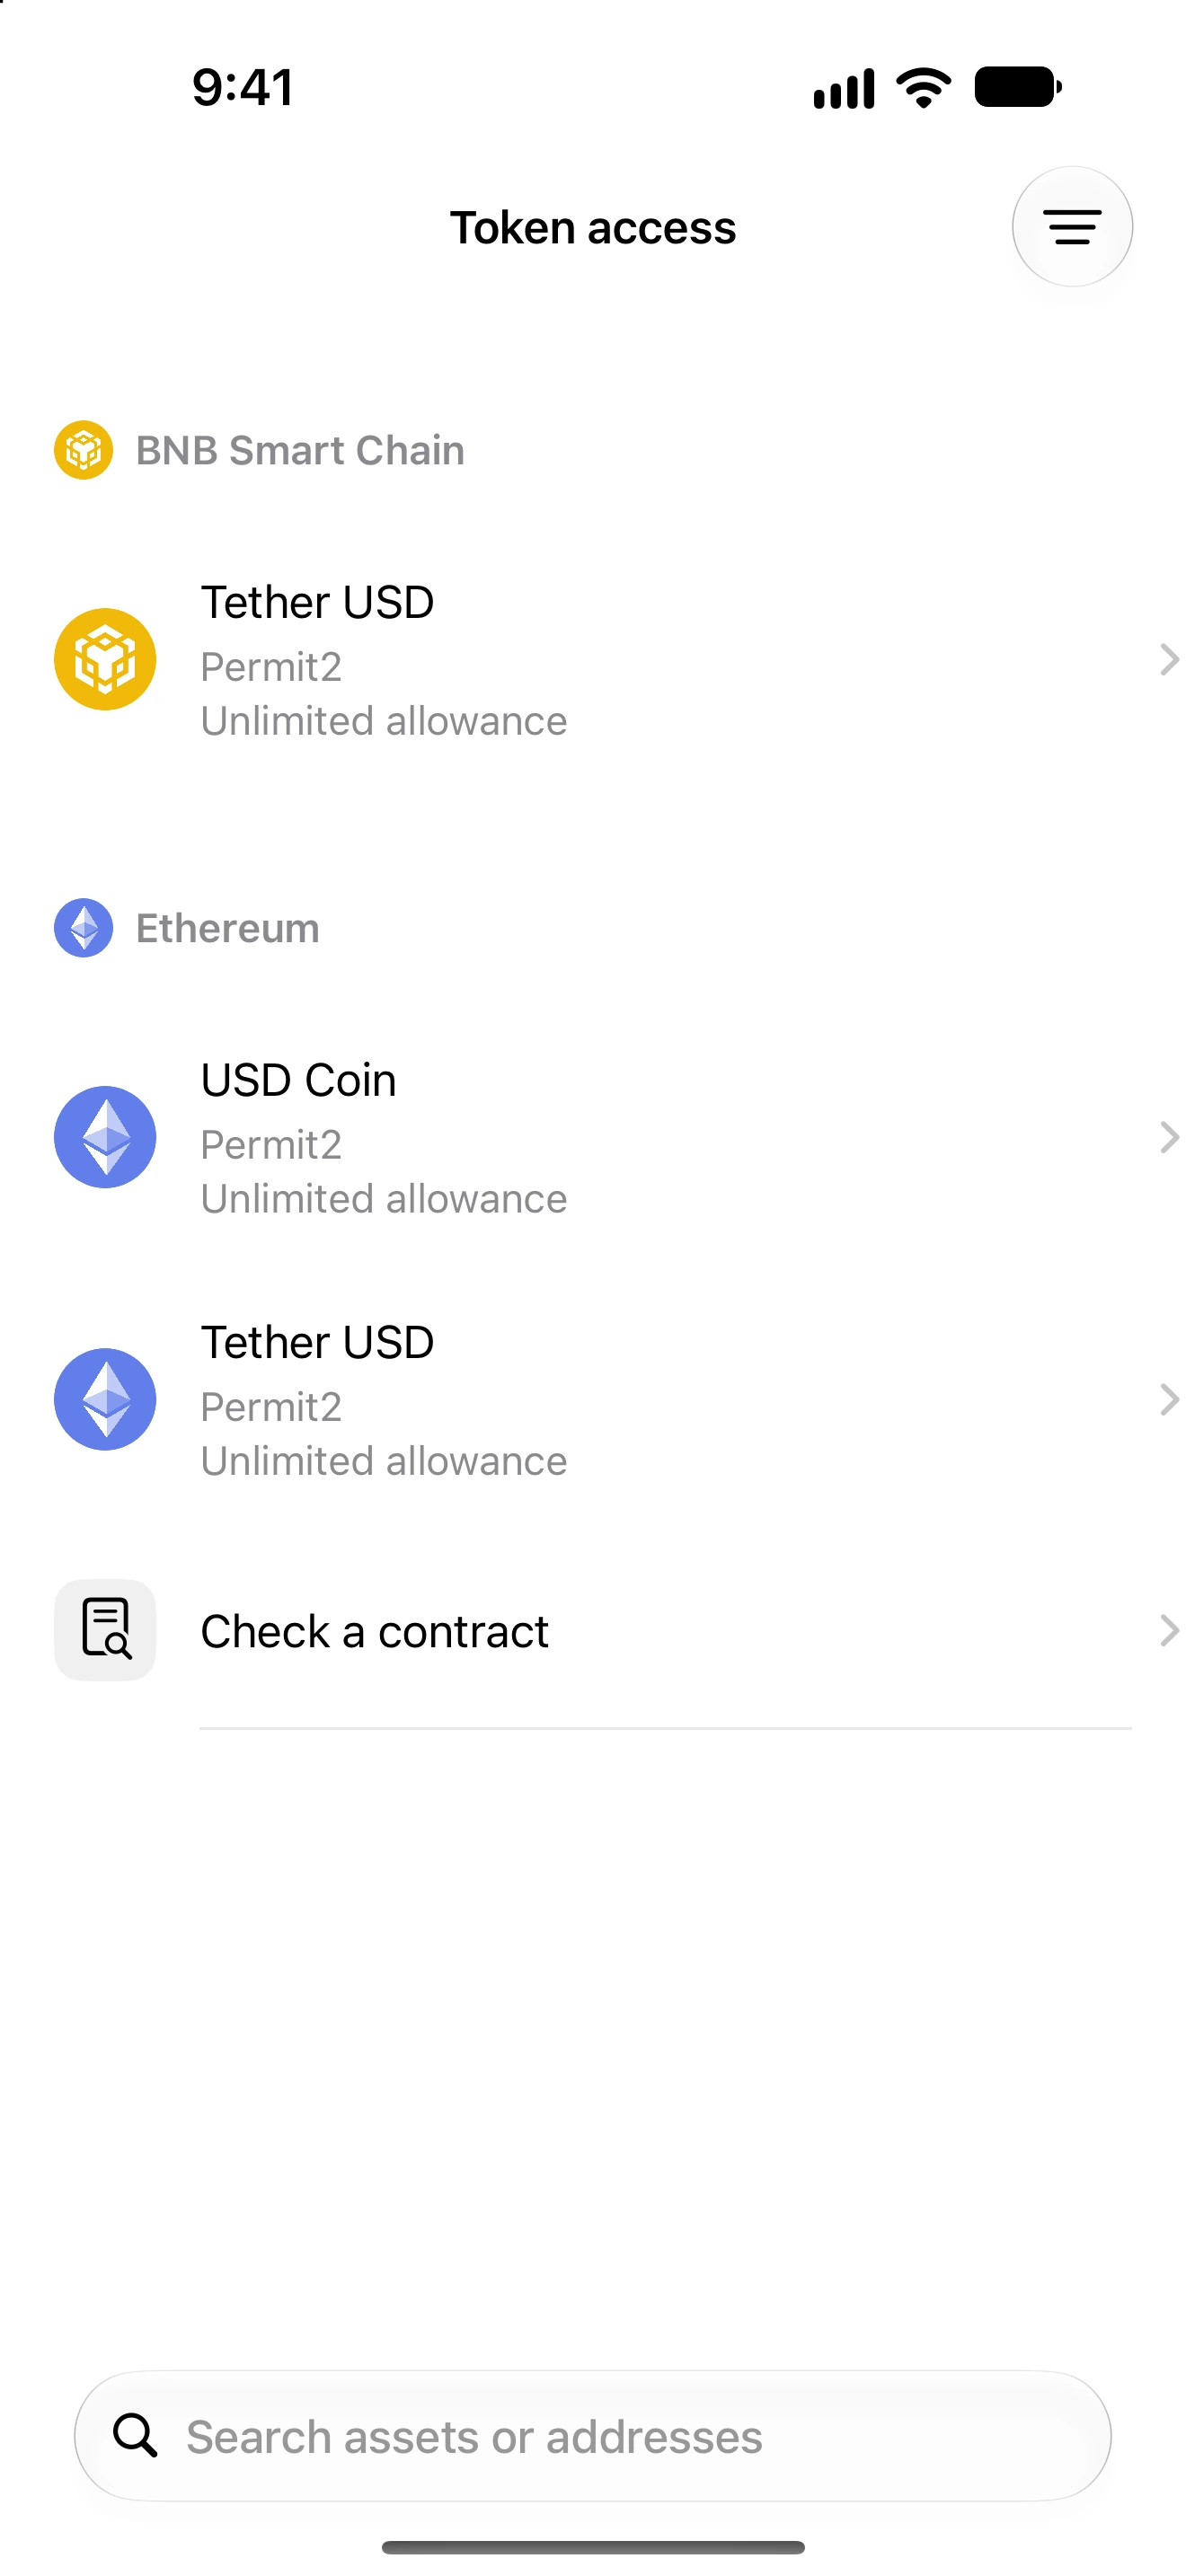
Understand Permit2 and signed approvals
Separate an existing allowance from a signature that may authorize future spending.
Oath 4.0.3
Permissions → Token access → Permit2 entry
How to do it
- Find the permission for the intended wallet, token, network and spender.
- Read the current allowance and any expiry/nonce details provided.
- Choose allowance removal when you want to remove the current supported on-chain access.
- If a separate nonce-invalidation action is offered for the permission, read its purpose and review it independently.
- Confirm the chosen action and fee, then check its verified result.
- Disconnect unused dApp sessions separately and review other approvals for the same token.
Permit2 can involve multiple layers of authorization. Removing one current allowance is not a universal cancellation of every signature or spender.
Nonce invalidation is a different on-chain action from allowance removal. It applies to the supported nonce scope shown in the review, not arbitrary signatures across all protocols.
Unknown off-chain permits cannot be exhaustively discovered by scanning a wallet. Be cautious about signatures as well as transactions.
Follow along in Oath
Real app screens with illustrative demo data. No live funds were sent, swapped or revoked for these examples. Never send funds to an example address. Tap an image to inspect it at full size.