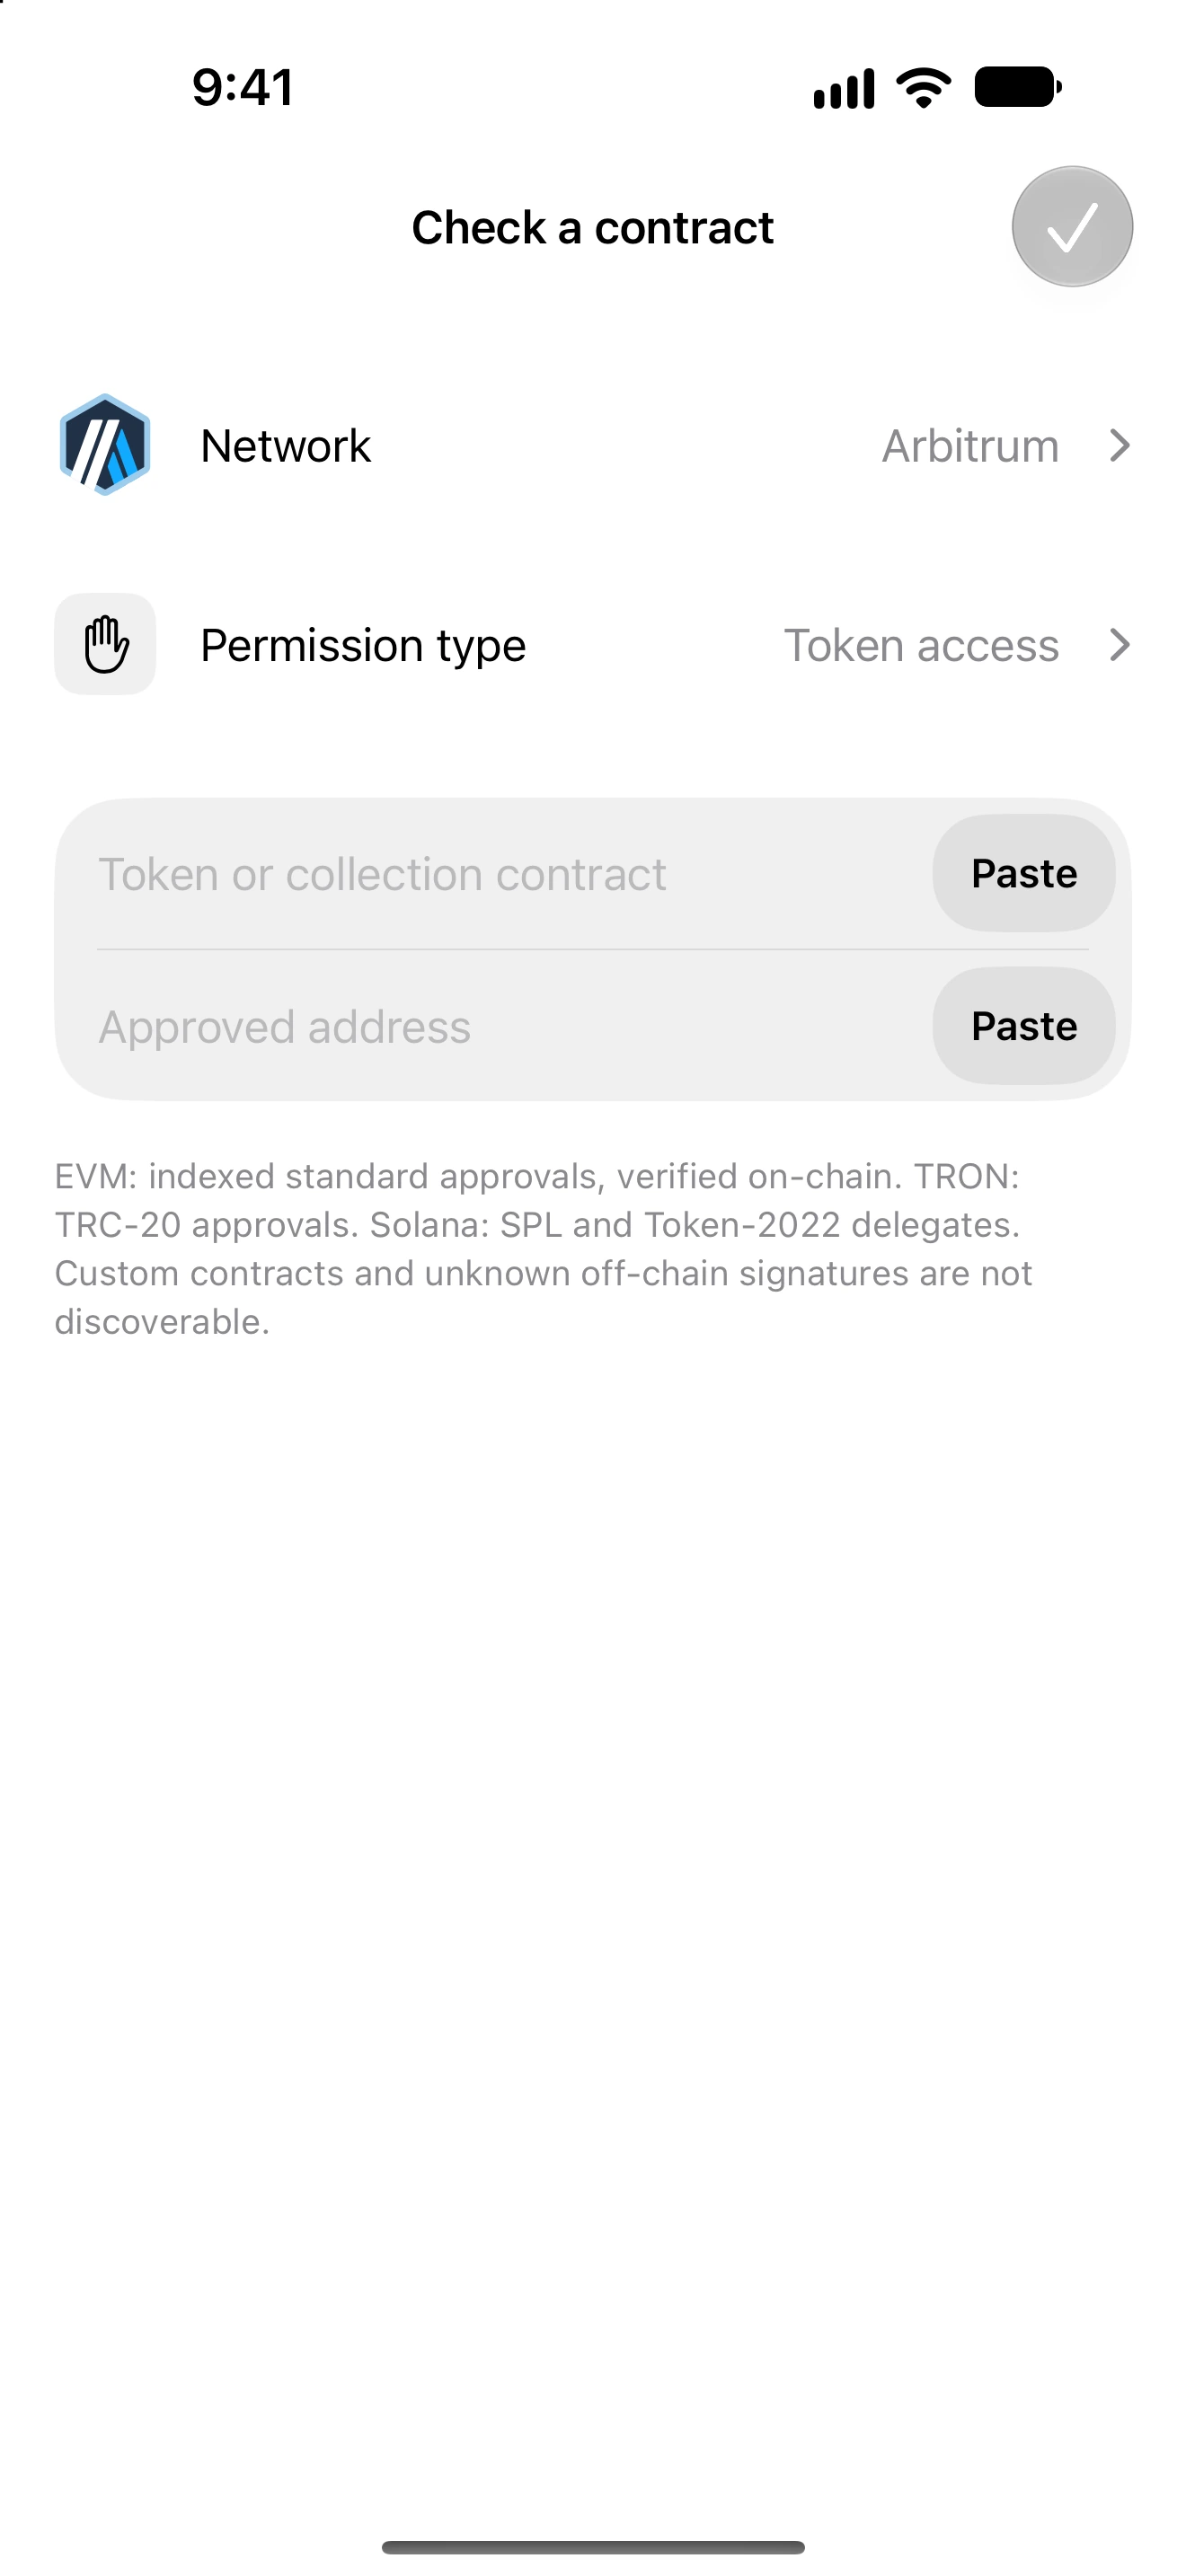
Check a contract and approved address
Look up a specific supported permission when you know the exact contract and spender.
Oath 4.0.3
Permissions → Scan coverage or access-list menu → Check a contract
How to do it
- Open Check a contract.
- Choose the network using the network row with its logo.
- Choose the access type you intend to inspect. The fields depend on that type.
- Paste the token or collection contract and approved address into their connected fields. Enter a token ID or additional identity if the form requests it.
- Compare the full addresses with trusted information, then tap the top checkmark.
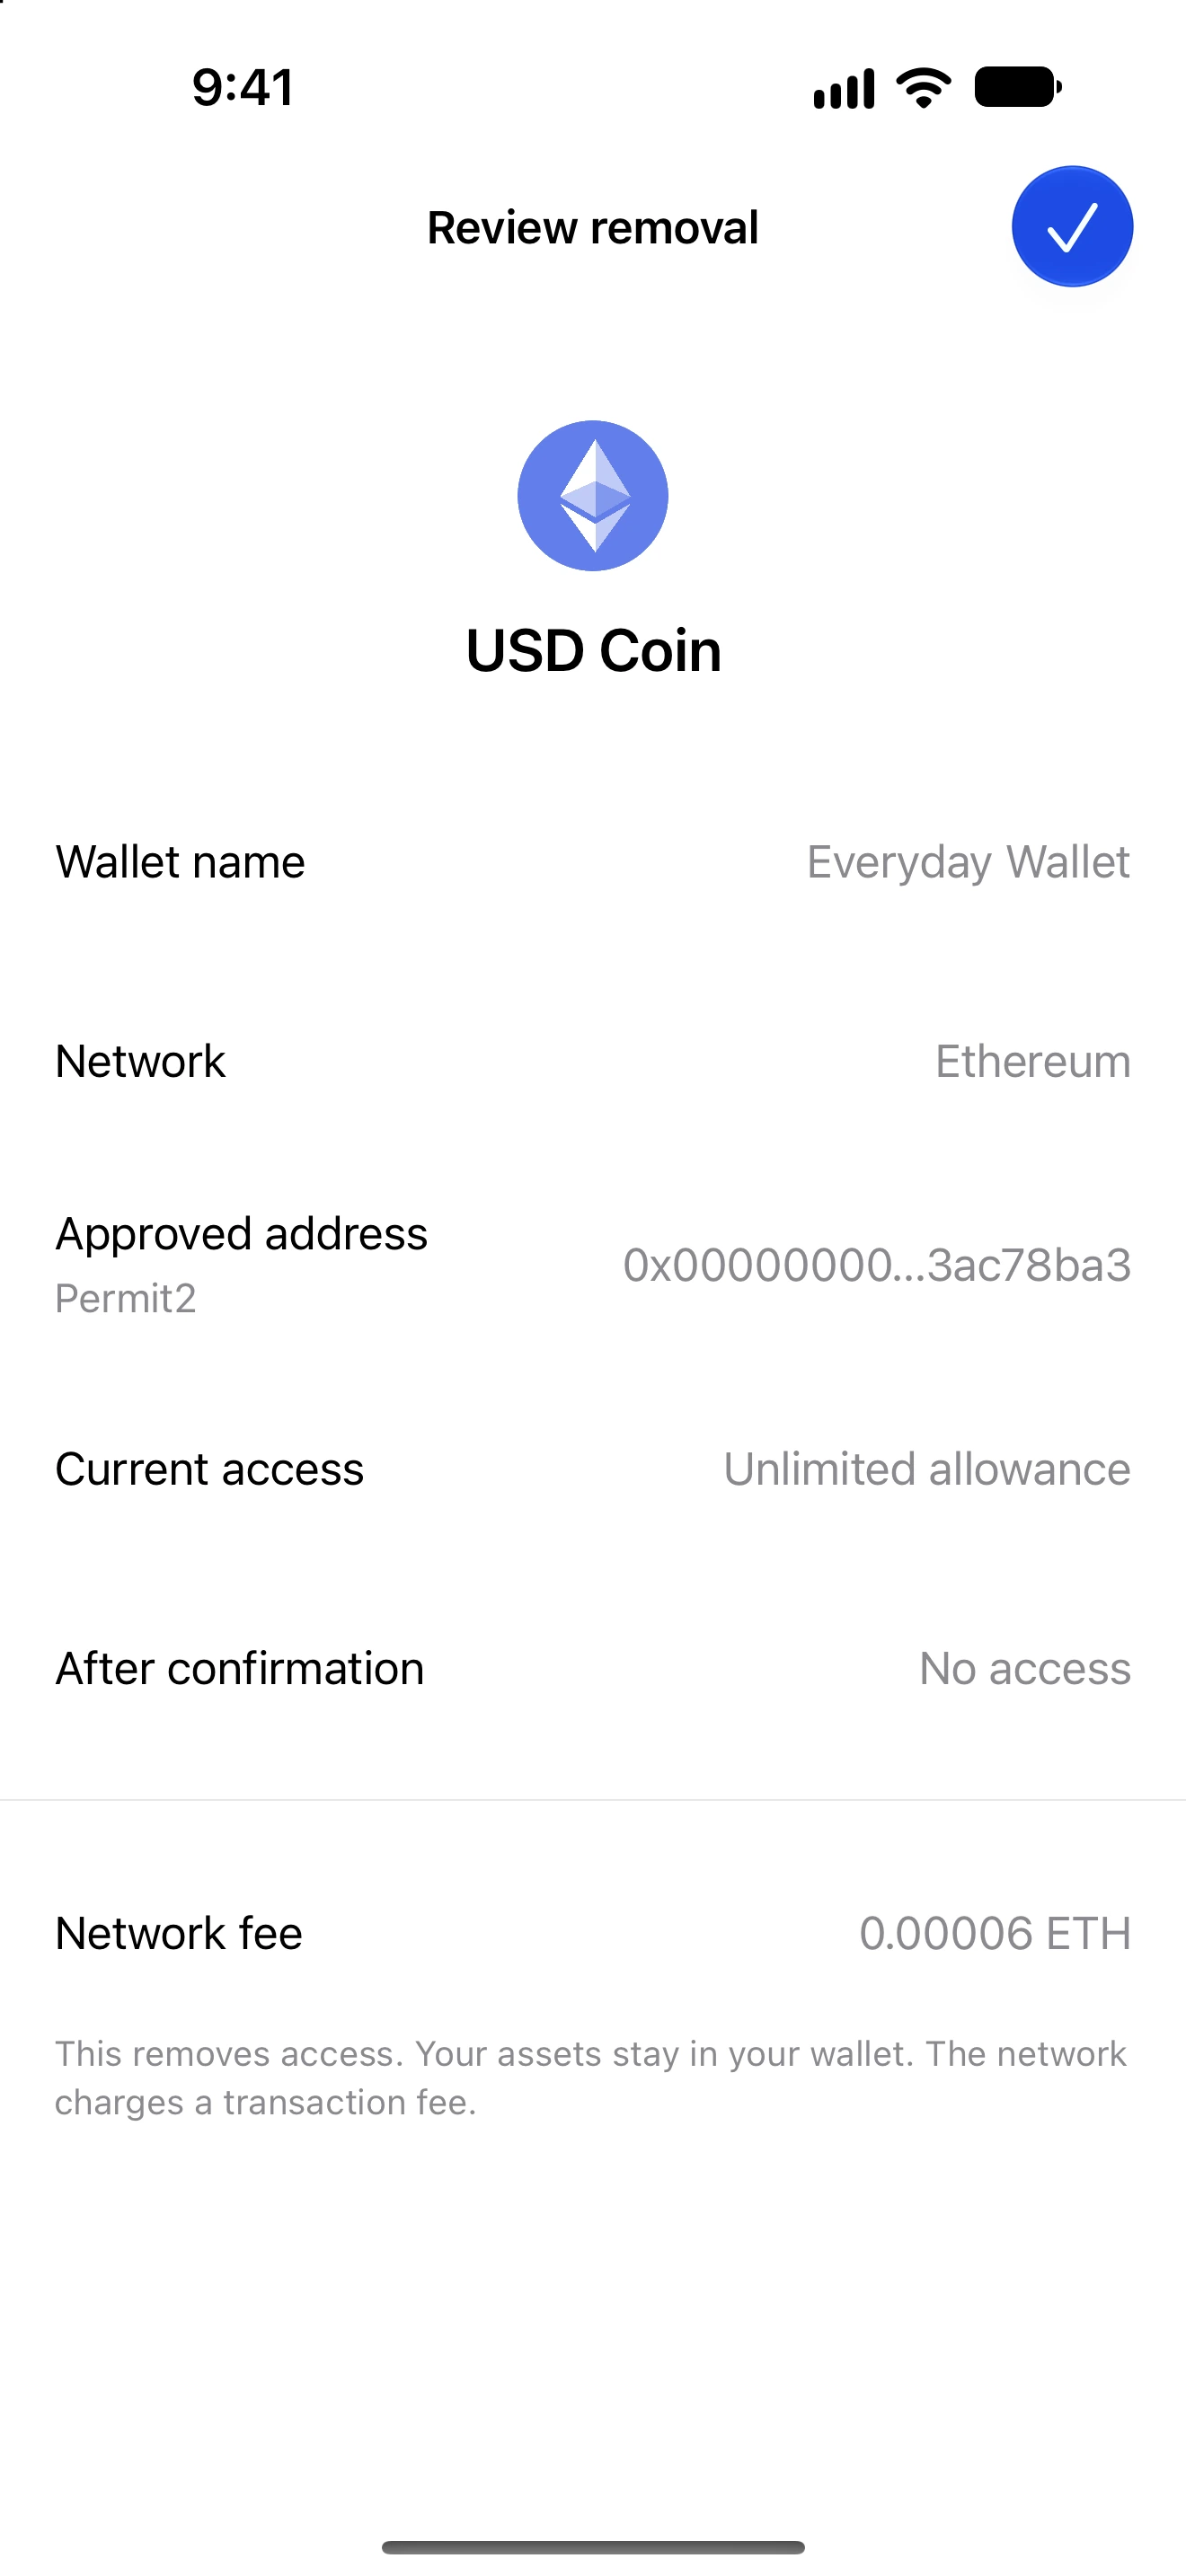
- Read the returned access and review a removal if supported. If the check fails, confirm the network and field formats before retrying.
The approved address is the spender or operator, not automatically your own wallet address. A contract alone is not enough to identify an allowance.
Selecting a collection-wide approval is different from checking access to one NFT. Permit2 checks also need their appropriate token identity.
This targeted lookup does not scan every possible spender. It answers the specific supported permission query you supplied.
Follow along in Oath
Real app screens with illustrative demo data. No live funds were sent, swapped or revoked for these examples. Never send funds to an example address. Tap an image to inspect it at full size.